[ad_1]
Note-taking shouldn’t be the cumbersome mess some apps would lead you to believe. Craft shuns the “kitchen sink” approach to note-taking and offers a simple, but effective tool for any user type.

I’ve tried so many note-taking apps over the years. Most of them I’ve found to fall into one of two categories: Too little or too much. If they are too little, they offer too few features. If they’re too much, they can quickly become overwhelming. The sweet spot is somewhere right in the middle.
That’s why I find Craft to be exactly what a note-taking app should be. It offers just what you need to create notes in a way that makes them easy to access from anywhere.
The only caveat to Craft is that it only offers desktop apps for macOS and Windows, and its mobile app is only for iOS. However, Linux users aren’t out of luck, as there’s also a web-based edition of the tool. Unfortunately, Android users are out of luck, as there is no app in the Google Play Store and using Craft in a mobile web browser is far too cumbersome. Hopefully, sometime in the near future, Craft will roll out a Linux app and an Android app to round out the roster.
SEE: Hiring kit: Project manager (TechRepublic Premium)
Jump to:
How does the Craft note-taking app work?
Unlike other note-taking apps, Craft approaches the task in a sort of desktop-like fashion. Instead of opting to use tags, Craft goes with a more traditional folder structure.
With Craft, you have basic notes, called Pages. Pages are organized into Folders. Pages use a block-based system, similar to that of Notion, so you can add different types of Blocks to Pages. You can also add new Pages and Cards within a Page and group Blocks together in a Page to create a sub-Page. Sub-Page content can either be previewed in-line or opened to view the full page.
Once you’ve created a new document, you can then export it as a PDF, MS Word, Image, Markdown or TextBundle. You can also print or email the document from within the app or send the contents to another installed macOS app.
It sounds complicated, but once you start using Craft, it all starts to make sense. Think of Craft as a combination of note-taking, word processing and desktop publishing all rolled into a single, user-friendly app. The learning curve involved with Craft is worth the time spent.
What you’ll need to use Craft
To follow along, you’ll need a valid Craft account. There are four different pricing plans to choose from:
- Starter: Free but limited to 1,000 blocks and 1GB of storage. You can sync to as many devices as needed.
- Personal Pro: $5 per month. Everything in Starter plus 50GB of storage, advanced export and publishing options, high-quality media upload and collaboration with up to five users.
- Business: $10 per user per month. Everything in Personal Pro plus custom branding, custom domain, shared content analytics, 180-day version history, centralized company billing, admin tools and priority support.
- Enterprise: Contact for pricing. Everything in Business plus dedicated success manager, advanced security and controls, unlimited version history and custom contract.
I’m demonstrating the Starter plan, which I would highly recommend you try before you buy.
How to create your first Craft Document
Log in to your Craft account and click the New drop-down at the top right of the window. From that drop-down, click New Document (Figure A).
Figure A
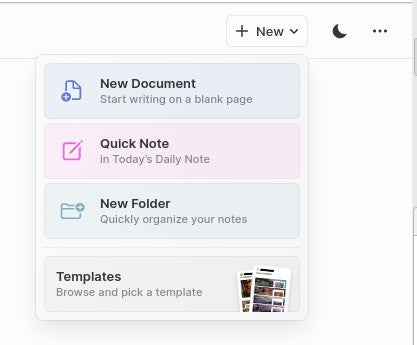
When the new Document opens, give it a Title and start adding content.
Let’s say you want to add a cover image to the new Page. To do that, click the third icon from the top in the right toolbar and click Cover Image (Figure B).
Figure B
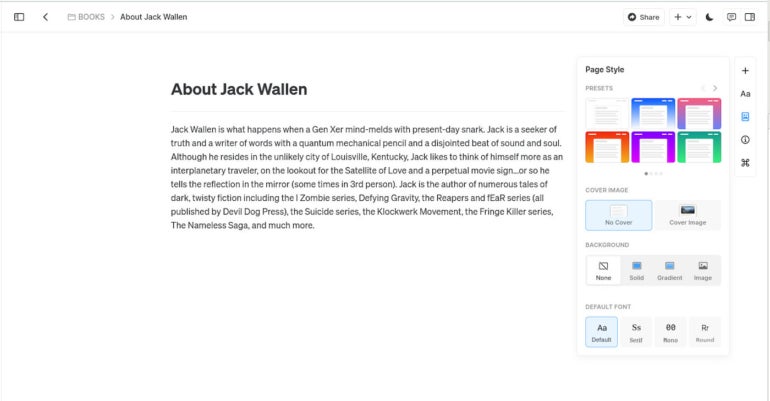
From the Page Style pop-up, you can also apply one of the preset page styles and apply some of the limited customizations.
Once you’ve taken care of the Page Styles, you can then add another Block. After adding a new Block, hover your cursor at the far left edge to reveal a three-dot button. Click that button to reveal another pop-up, where you can add content, comments and links.
One really cool feature of Craft is when you paste a link into a Document you can transform that link into text, make it a small or regular block, or even turn it into a card (Figure C).
Figure C

As you continue to learn the ins and outs of Craft, you might want to start by creating sub-folders to house different Documents. Think of Craft as your cloud-based desktop, where the more organized your folders are, the easier it will be to find the documents you need. If you create a folder hierarchy out of the gate, it’ll be easier to keep that content organized, as you cannot drag and drop Documents into folders.
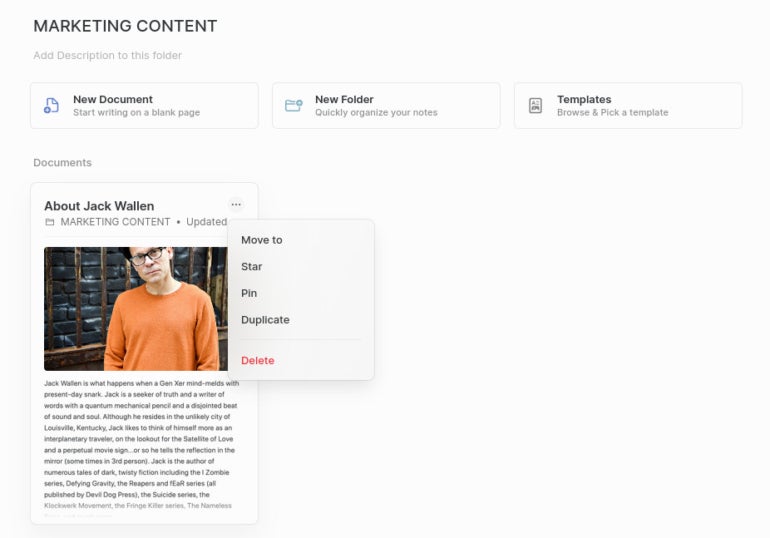
If you need to move a Document, click the three-dot menu in the upper right corner of the Document and select Move To (Figure D).
Figure D
Just getting started
There’s much more to Craft than I’ve shown you here, but this should give you a solid start with the tool. I’ve found Craft to be one of the best note-taking apps and services on the market, and I highly recommend you give it a try and see if it doesn’t soon become your go-to for note-taking.
Subscribe to TechRepublic’s How To Make Tech Work on YouTube for all the latest tech advice for business pros from Jack Wallen.
[ad_2]
Source link