[ad_1]
If you’re looking to manage your project budget in OpenProject, you’ll first need to enable a specific module. Find out how the Budgets feature is installed and used.

Going over budget could spell disaster for a project. Knowing the most up-to-date budget information allows the project team to plan accordingly by cutting features or work — before you have to inform upper management that you need more money. Such news could reflect poorly on you. You don’t want that.
SEE: Hiring kit: Project manager (TechRepublic Premium)
If OpenProject is your project manager platform of choice, you can add the Budget module, which allows you to:
- Create a project budget.
- Add planned unit costs.
- Add planned labor costs.
- Assign a work package to a budget.
- View details and update a project’s budget.
Let’s get this module installed and see how it is used.
What you’ll need to enable the OpenProject Budget Module
The only things you’ll need for this are a running instance of OpenProject and a user with admin privileges. That’s it: Let’s get to work.
How to enable the Budget module
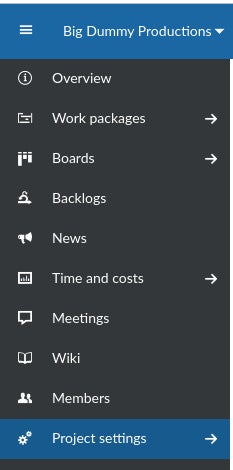
The first thing to do is log in to your OpenProject instance. Once logged in, select a Workspace from the Project drop-down in the upper left corner. Within the project, click Project Settings in the left sidebar (Figure A).
Figure A
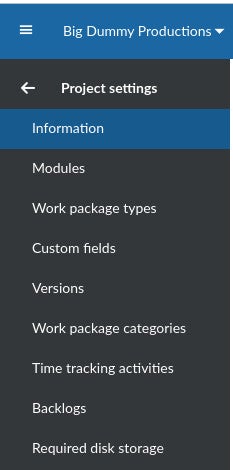
In the resulting page (Figure B), click Modules in the sidebar.
Figure B
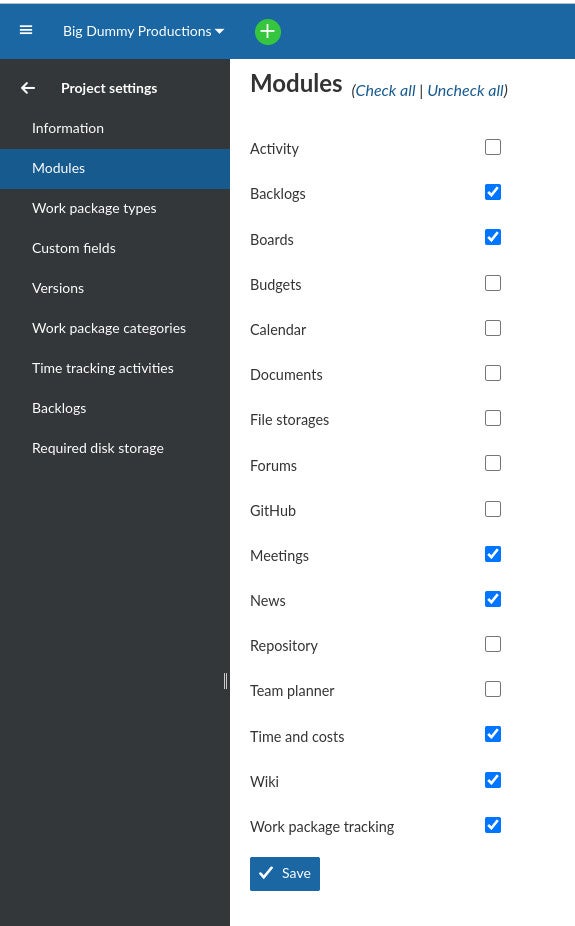
On the Modules page (Figure C), click the check box for Budgets and then click Save.
Figure C
How to use Budgets in OpenProject
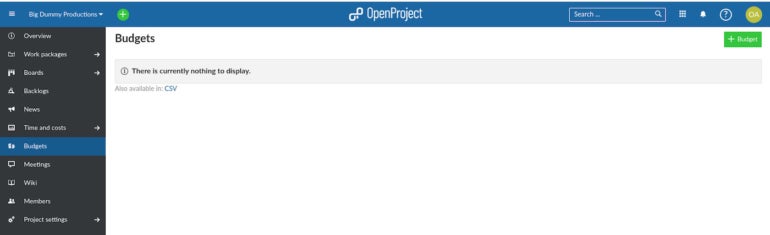
With Budgets enabled, click out of Settings to go back to your project, where you’ll see a new Budget entry in the sidebar. Click Budgets.
In the new window (Figure D), click New Budget in the top right corner.
Figure D
In the resulting window (Figure E), fill out all the necessary information for the new Budget.
Figure E

One thing to keep in mind is that you’ll probably want to define various Cost Types for your project. Cost types can be development, marketing, design, deployment, scaling, etc.
To define a Cost Type, click your profile icon in the top right of the window and select Administration and then click Time & Costs. In the resulting window, click +Cost Type in the upper right corner and then fill out the information for the new Cost Type (Figure F).
Figure F
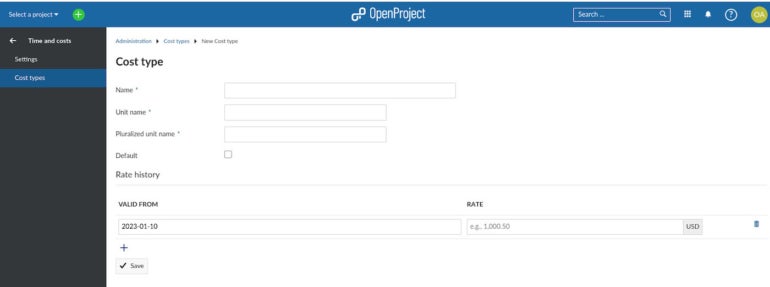
Once you’ve filled out the necessary information, click Save and the new Cost Type will be available to add to your Budgets.
As your project continues, you can revisit the Budget, click Update, and add or edit the costs to keep track of how the budget of the project is going.
After creating a new Budget, you can add the budget to a Work Package, where you log costs (Figure G) that will reflect in the Budget you’ve created.
Figure G

A bit of a learning curve
Getting up to speed with OpenProject Budgets does have a bit of a learning curve. It will take you a bit of time to comprehend the Budget workflow in OpenProject, but once you get it, it will become a must-have feature for your project management efforts.
Subscribe to TechRepublic’s How To Make Tech Work on YouTube for all the latest tech advice for business pros from Jack Wallen.
[ad_2]
Source link