[ad_1]
Now that you have Jenkins up and running, it’s time to create your first build. Find out how.

Recently, I walked you through the process of deploying the CI/CD automation platform Jenkins. With this tool at your disposal, your company can begin the journey toward agile development with continuous deployment and integration.
SEE: Hiring kit: Back-end Developer (TechRepublic Premium)
But now that you’ve installed Jenkins, what’s next? Your first step might be to create a test build, and that’s exactly what I’m going to show you how to do.
What you’ll need to create your first project with Jenkins
The only thing you’ll need for this is a running instance of Jenkins. Once you have that ready, it’s time to create your first build. Let’s do just that.
How to create your first Jenkins build
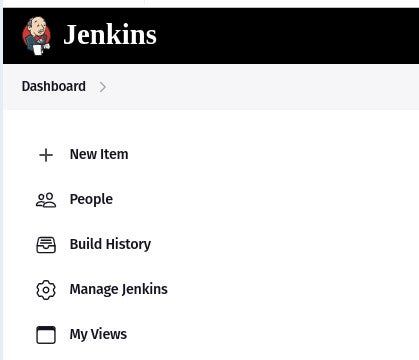
The first thing to do is open Jenkins. Once you’re on the Jenkins main page, click New Item in the upper left corner (Figure A).
Figure A
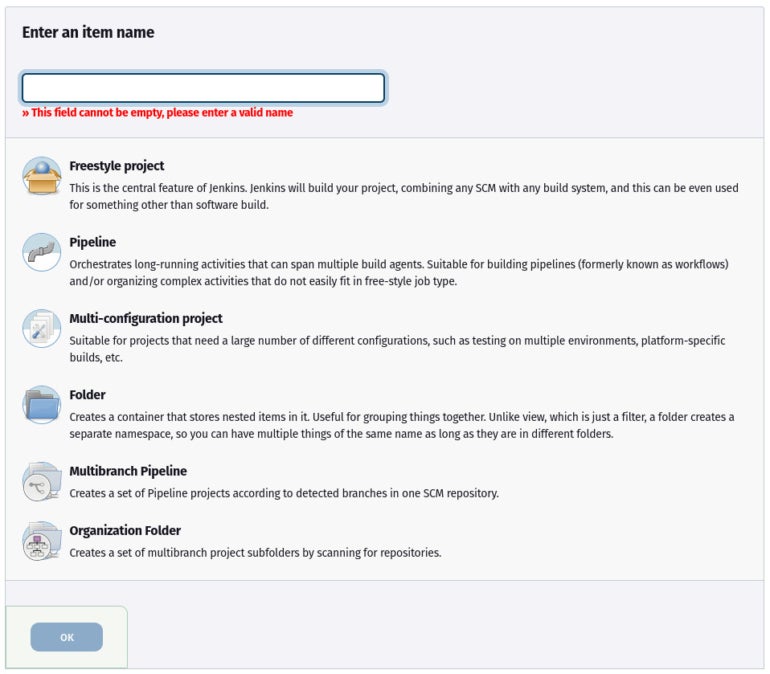
In the resulting window (Figure B), select Freestyle Project and give it a name.
Figure B
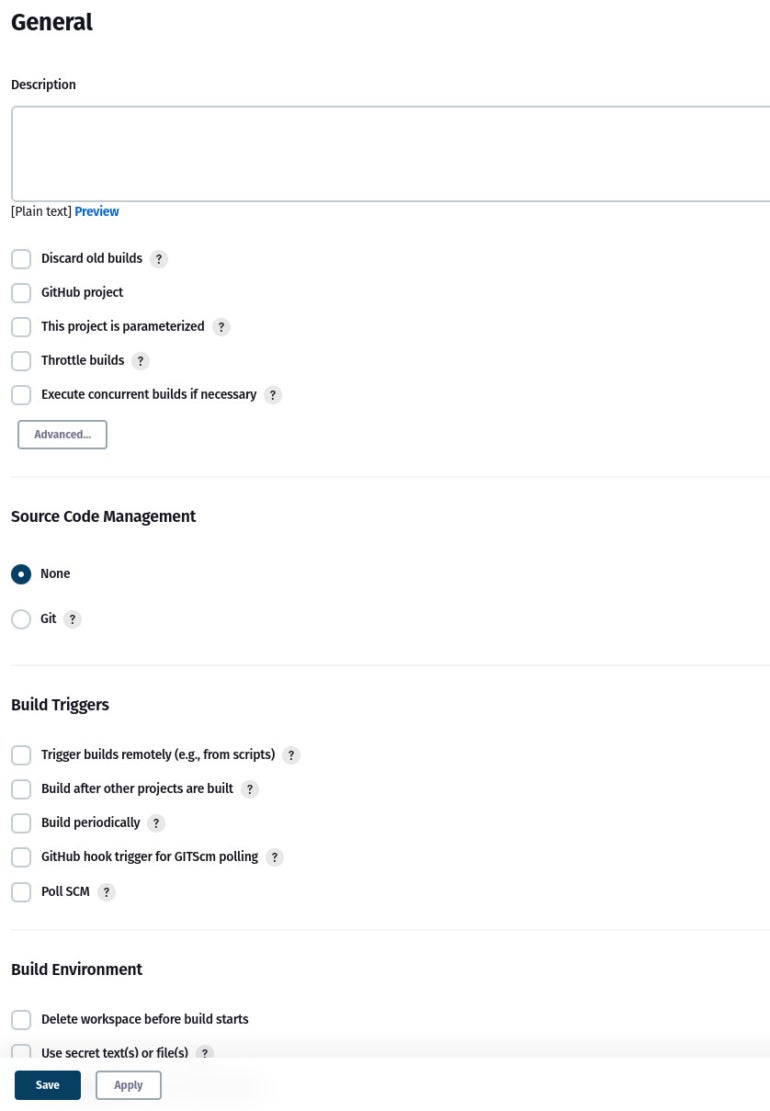
Click OK to continue. In the resulting window (Figure C), give the project a description in the General section.
Figure C
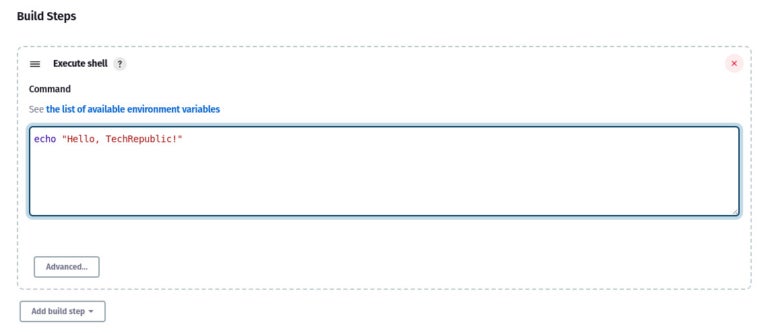
Click on the Build Steps tab. From the Add Build Step drop-down, select Execute Shell and then, in the resulting field (Figure D), type something like echo “Hello, TechRepublic!”
Figure D
Click Save to create this first Jenkins build. From the left sidebar, click Build Now (Figure E).
Figure E
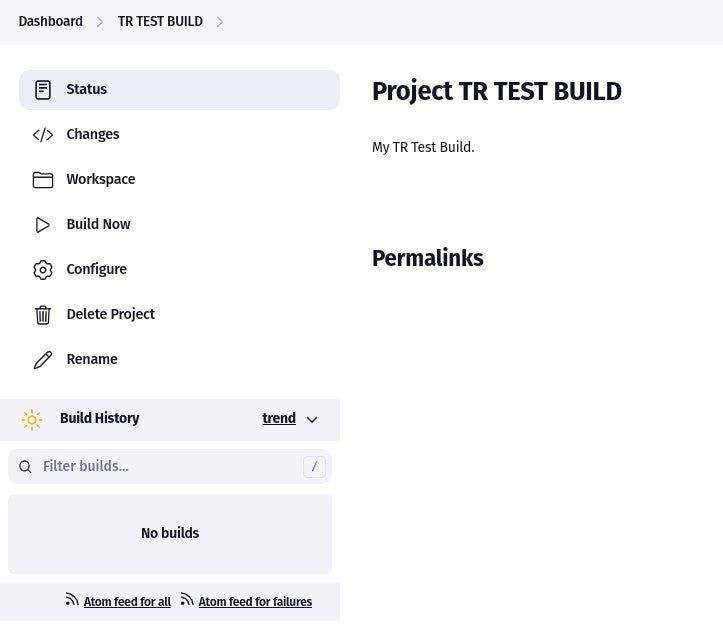
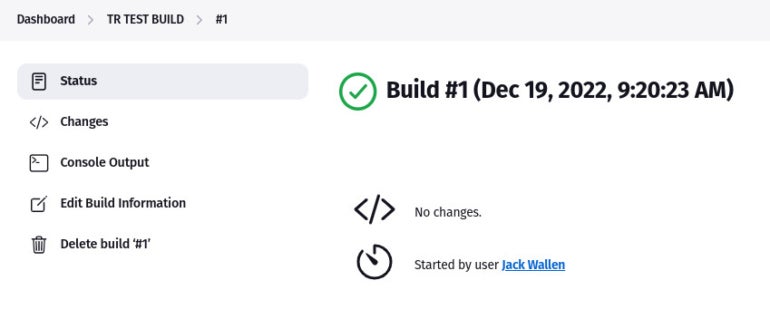
You should almost immediately see a new link under Build History with the date and time for the build. This build should be labeled #1. Click the #1 link. In the resulting window (Figure F), click Console Output.
Figure F
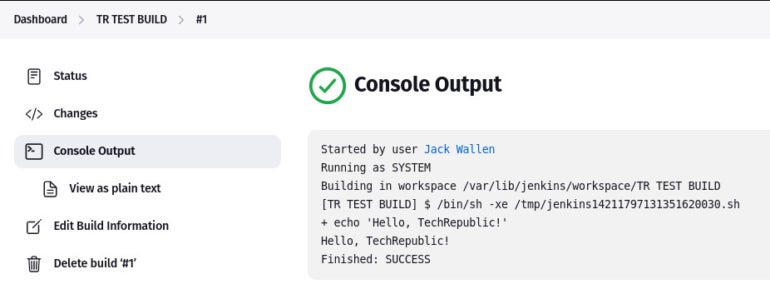
In the console output, you should see the output from the build (Figure G), which includes “Hello, TechRepublic!” and Finished: SUCCESS.
Figure G
A very simple build to get you started
This was a very simple build project to show you the Jenkins workflow, which is actually pretty simple, especially given the complexity of CI/CD. I would highly recommend you continue running test builds of increasingly more challenging complexity, until you feel confident Jenkins can help you finally achieve CI/CD-based agile development. Next time around, we’ll build something a bit more complex than a “Hello, World” application.
Subscribe to TechRepublic’s How To Make Tech Work on YouTube for all the latest tech advice for business pros from Jack Wallen.
[ad_2]
Source link