[ad_1]
Loop is Microsoft’s latest collaboration platform for organizations using Microsoft 365 and Azure. The platform is in preview and can be activated with a complicated procedure.
Microsoft Loop is the company’s latest collaboration platform for organizations using Azure and Microsoft 365. When it is released to the public, organizations will be able to deploy the platform company-wide for certain departments, or for specific teams using the Azure Portal. The preview release of Microsoft Loop became available in March 2023.
How to activate Microsoft Loop for your organization
To activate the preview version of Microsoft Loop for your organization, you will have to make complex administrative changes using the Azure Portal. The process involves the creation of a new group and corresponding cloud policy. The procedure is only valid if you have an active Microsoft Exchange license coupled with your installation of Microsoft 365.
For this example, we will create a static group containing all users. If your organization is larger, you may want to create a dynamic group so that, when users are added or removed from the organization in the future, the group’s membership will be adjusted automatically.
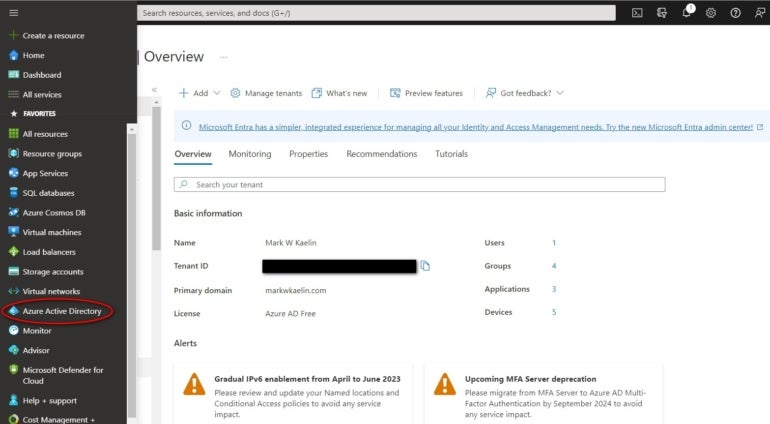
The first step is to log in to the Azure Portal using global or user administrative credentials (Figure A). From the left-hand navigation bar, select Azure Active Directory.
Figure A
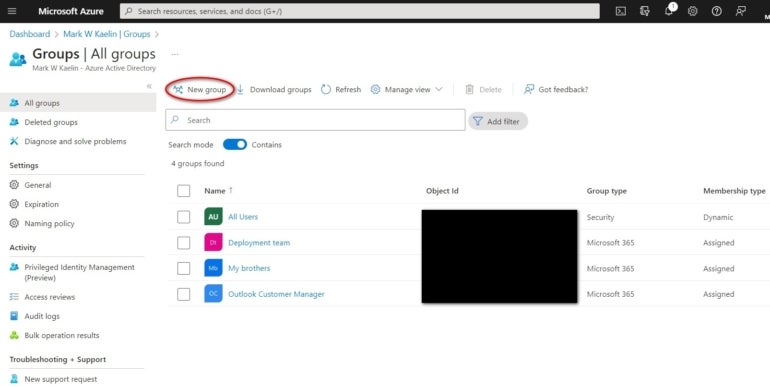
Under the Manage section of the left-hand menu of actions, click the Groups item (Figure B). Now, click the New Group link.
Figure B
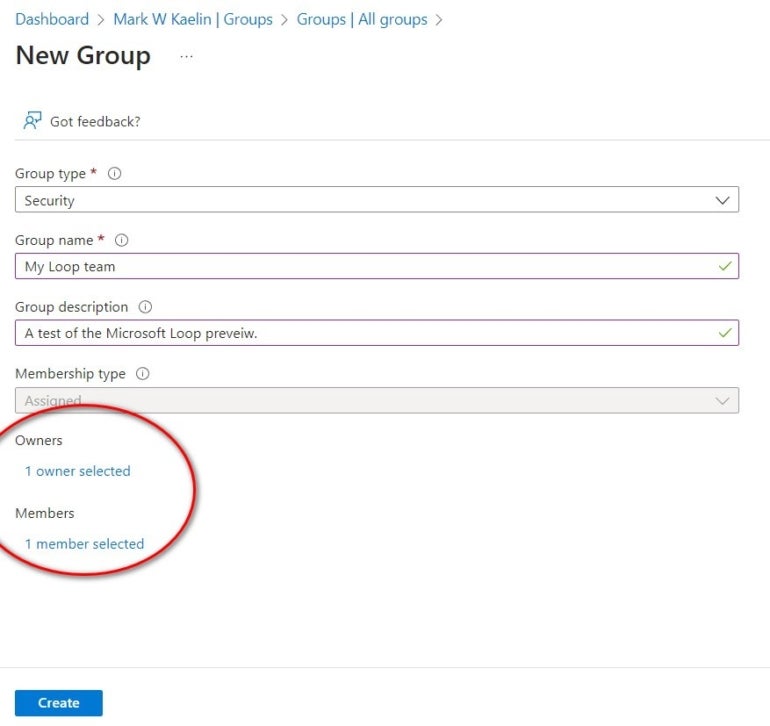
On the New Group page, you are asked several questions regarding the configuration of your new group (Figure C).
Figure C
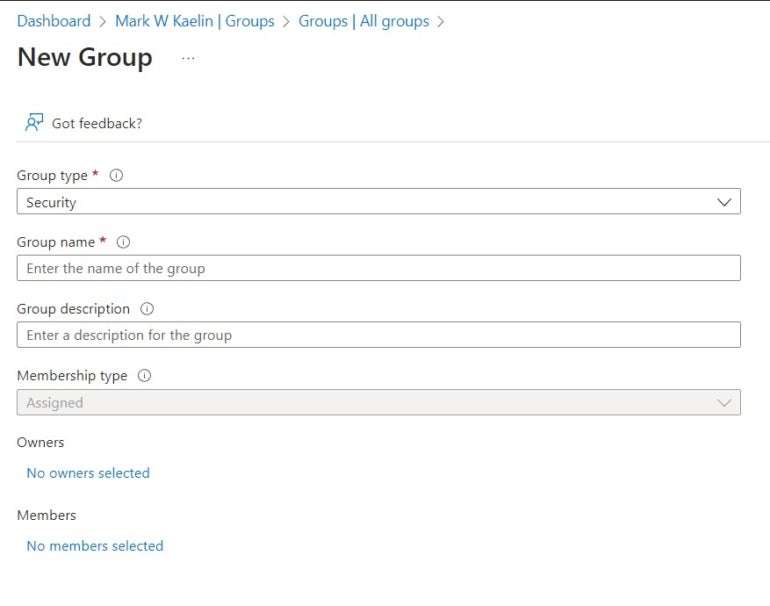
Select Security for group type, and then give your new group a name and description.
If you are an organization with multiple active users, you will select Dynamic User under Membership type, and then select Add Dynamic Query. You will then have to apply this rule:
user.objectId -ne null
If you are a one-person organization, you will not have a Membership Type option; instead, you will create a static membership group (Figure D). First, you will select yourself as both Owner and Member, and then you will click the Create button to complete the process.
Figure D
The general procedure is the same regardless of whether you are a small operation or an enterprise-level organization.
How to create a cloud policy for Microsoft 365
Now that you have a new group established, you must create a new cloud policy for Microsoft 365 associated with that group.
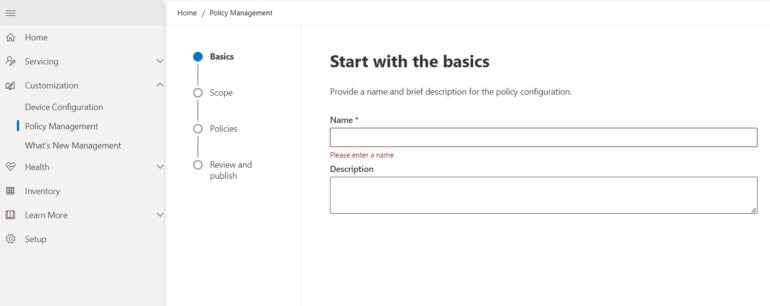
Log in to the Microsoft 365 Admin Center using administrative-level credentials (Figure E). Click the Customization item in the left-hand list of actions, select Policy Management and then press the Create button.
Figure E
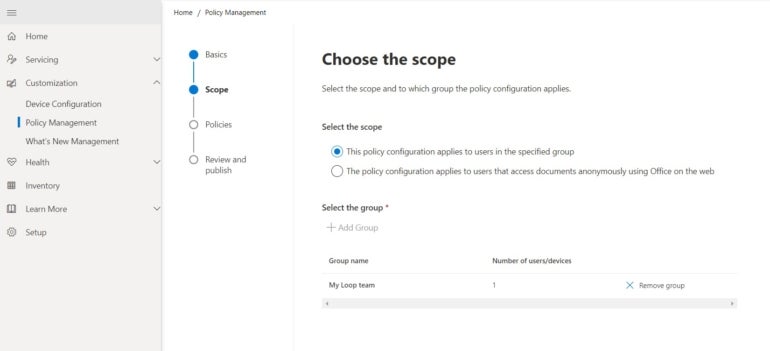
For the scope, select This Policy Configuration Applies To Users In The Specified Group, then select the group you created in Azure (Figure F). Click the Next button to continue.
Figure F
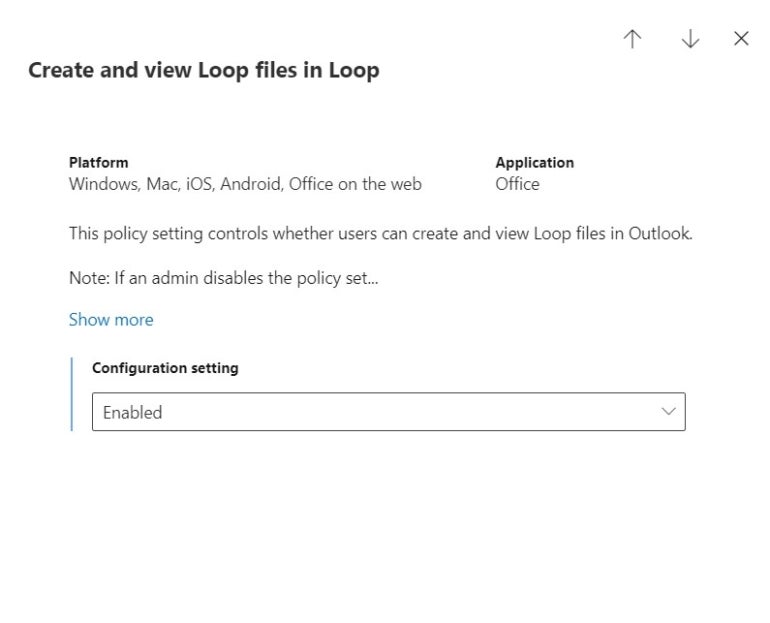
There will be a long list of policies requiring configuration, but we are only concerned with Loop policies, so type “loop” in the filter to condense the list (Figure G). We will be changing the configuration of Create And View Loop Files In Loop. The other Loop policy configurations should be set to their defaults and should not need to be modified.
Figure G
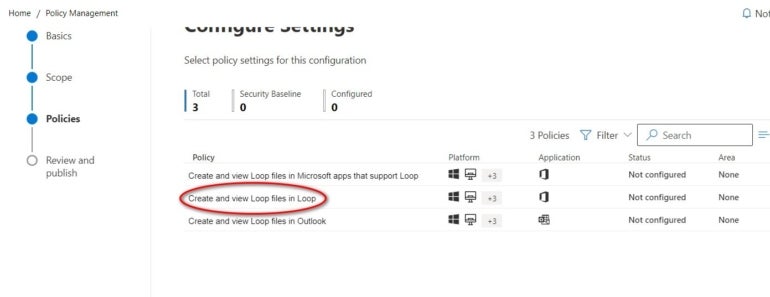
Click the Create And View Loop Files In Loop item from your filtered list and choose Enabled from the drop-down list (Figure H). Click the Apply button to complete the process.
Figure H
Click the Next button to review the policy changes. If you are satisfied with the results, click the Create button and then the Done button.
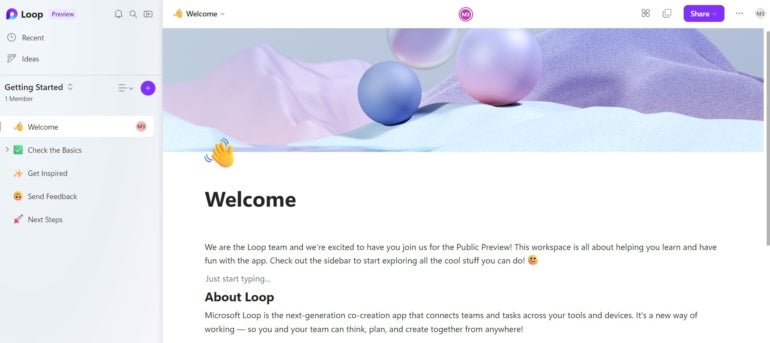
Now, when you go to the Microsoft Loop preview webpage (Figure I), you will be able to test the platform with your team.
Figure I
[ad_2]
Source link